As a coach you may need to evaluate the physical condition of your athletes with following objectives in mind:
To find their strengths and weaknesses, set their training zones appropriately and create a fully individualized training plan for them.
To reevaluate their status and the efficiency of the training plan, identifying how the athlete responds to their training, readjusting their training zones and workout structure accordingly.
With ScienceTraining you’re able to evaluate the physical condition of an athlete, using ready-made test events or, alternatively, you may create custom tests, from scratch.
Test events are workout sessions you can add to your athlete’s calendar. They help you measure specific parameters. Once your athletes complete these workouts, on the predefined day, you’ll have all the information you need to proceed with designing their training plans.
Select the athlete you want to evaluate
At the left hand side of your screen click on the “Athletes list” and select an athlete, by clicking on their name [Fig. 1].
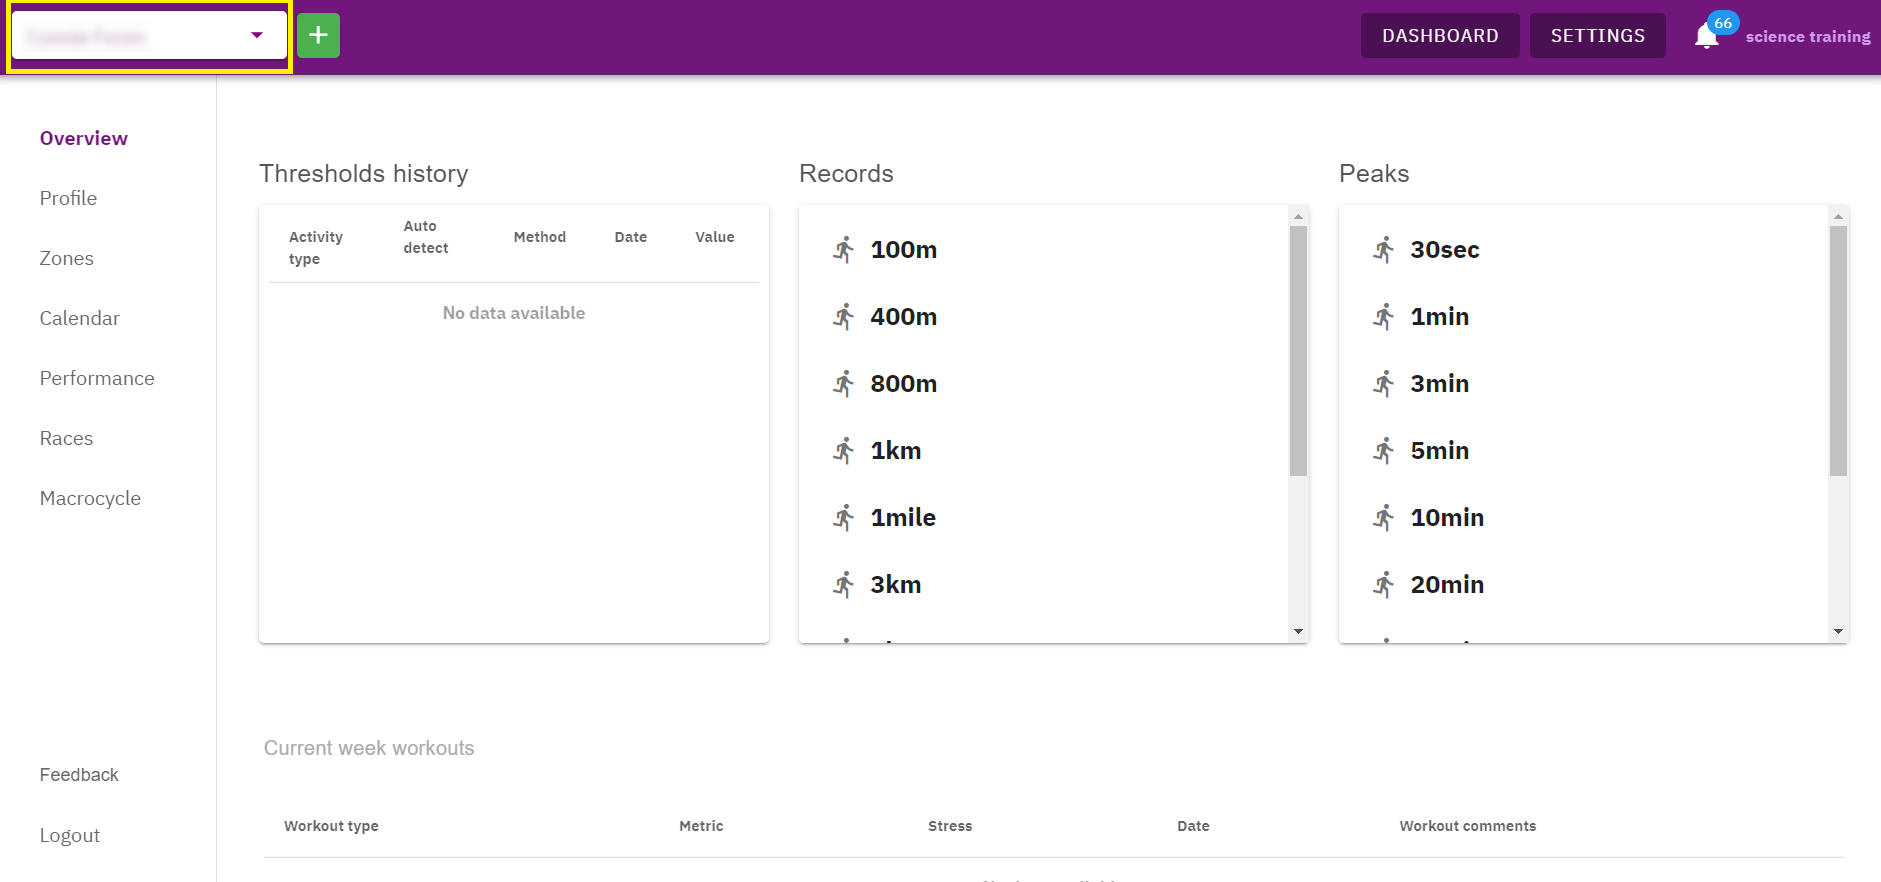
Fig. 1
Click on the “Calendar” button and go to your athlete’s Calendar. Now, you’re ready to add test events on specific days.
1. Setting up a ready-made test event
Step 1: Drag the test icon and drop it on the preferred day [Fig. 2]

Fig. 2
Step 2: Choose the pre-built test
You may choose one of the following ready-made test events [Fig. 3]:
Test LT-pace & HR at LT for Running
FTP Test – (20min) and 3-min FTP(CP) Test for Cycling
Critical Velocity (CV) Test for Swimming

Fig. 3
Click on one of them to continue.
As you’ll see duration, pace and respective zones (warm-up, work, rest active etc.) are all predefined in advance, on your account.
Note that you are able to make any modifications you need later on. You can also mark and keep track of the readjustments you make.
Step 3: Save the test event on the athlete’s calendar
To save this test event on your athlete’s calendar, just click on the “Save Workout” button [Fig. 4]. The test event will appear on your athlete’s calendar with the respective name convention (e.g. FTP test - 20 min) and they will also get the respective notification in their account dashboard.
You may also add a calendar note on the same day, to give them any extra information they may need.
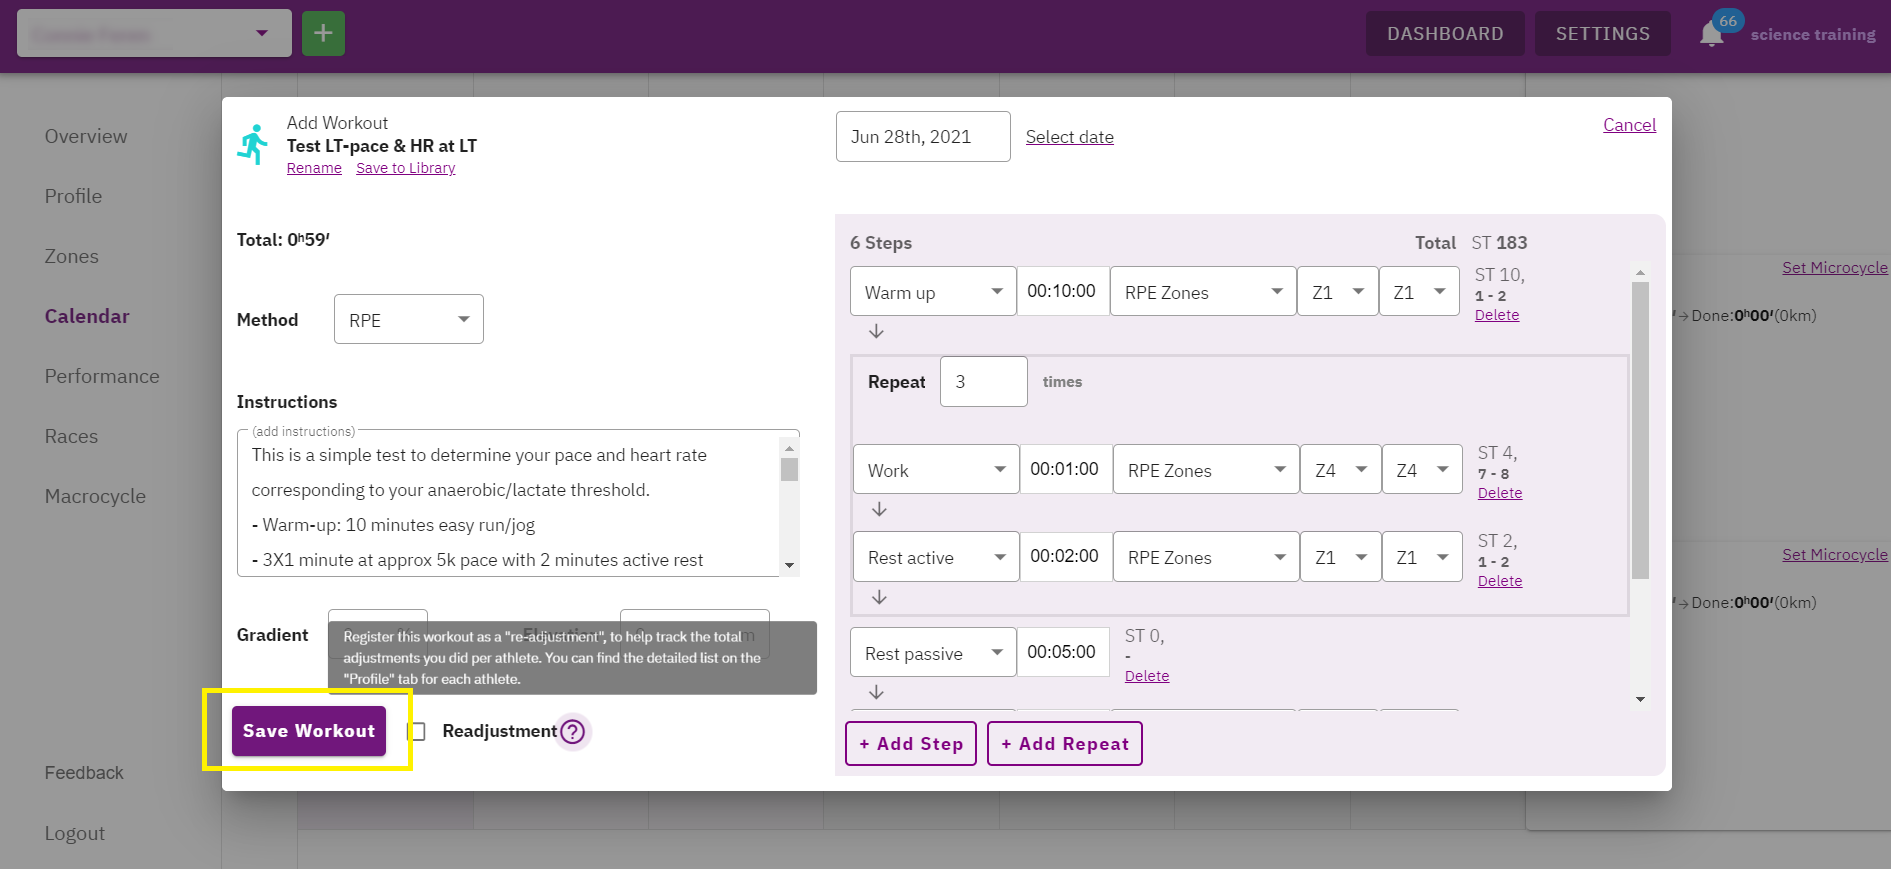
Fig. 4
2. Setting up a custom test event
Step 1: Drag the test icon and drop it on the preferred day [Fig. 5]
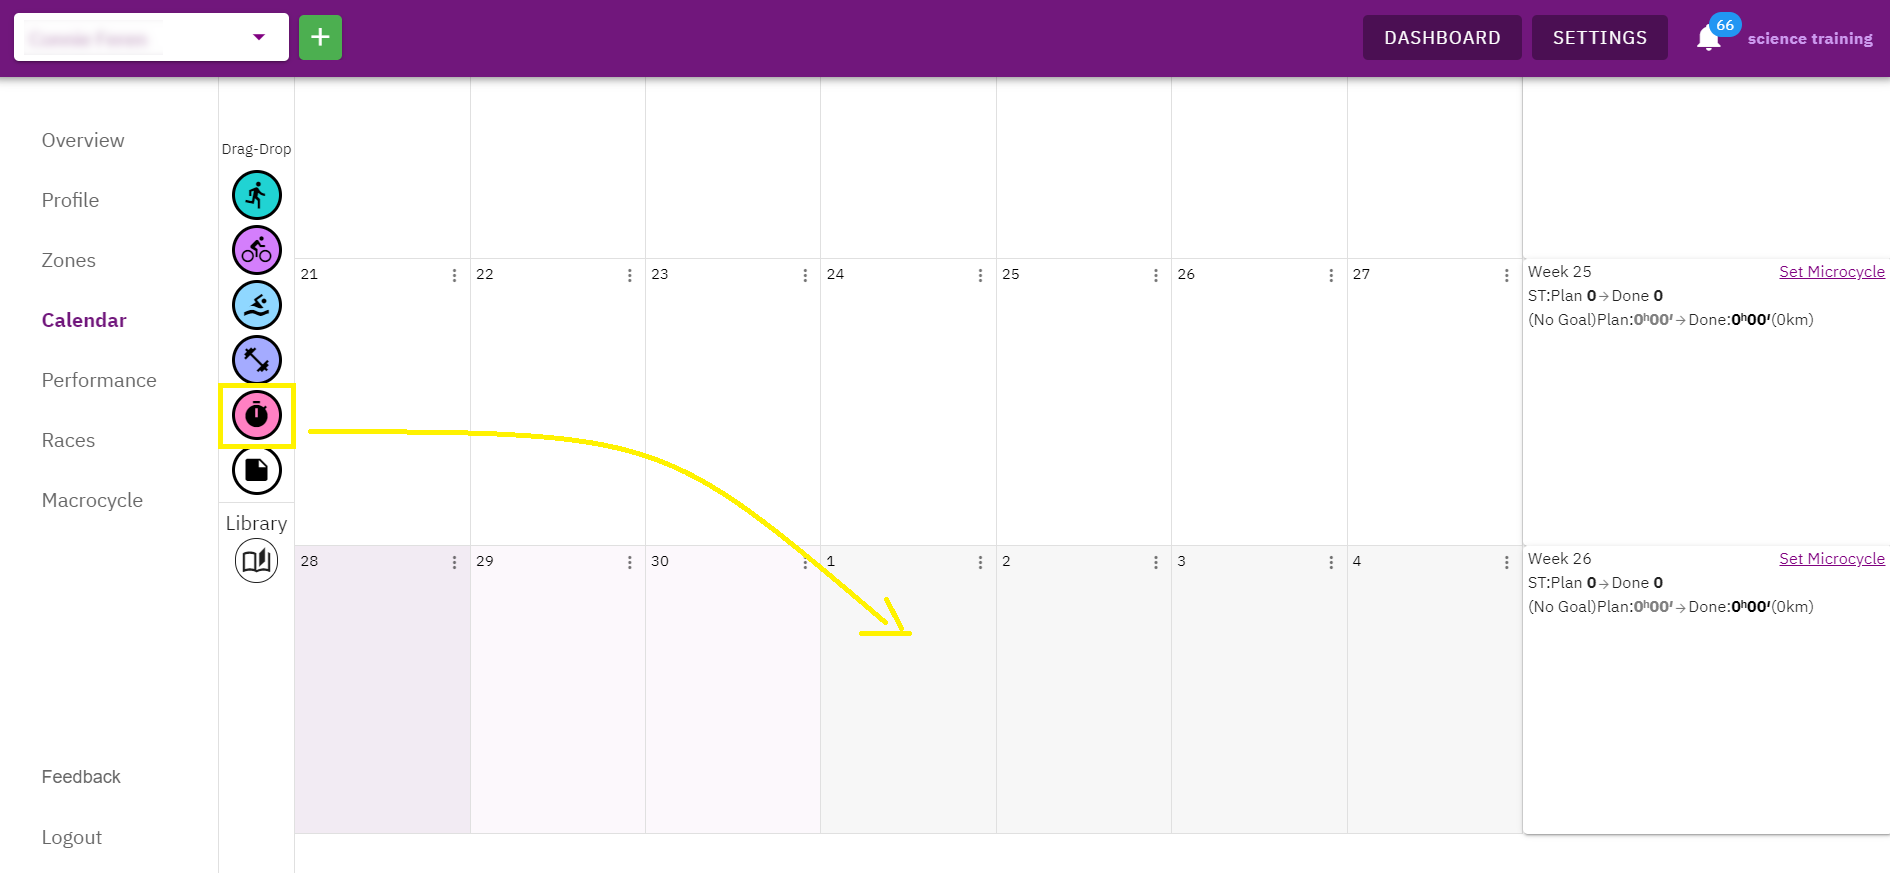
Fig. 5
Step 2: Select the “custom” option
To create a custom test for each one of the three training activities (running, cycling and swimming), just click on the “Custom test” for the type of sport you need [Fig. 6], on its respective list.

Fig. 6
Step 3: Create the test
You’re now able to fill in the test event parameters, exactly the way you’d do with the standard training workouts you create for your Athletes [Fig 7].

Fig. 7
Step 4: Save the test event to the athlete’s calendar
To save your custom test event just click on the “Save workout” [Fig. 8] and it will automatically appear on your Athlete’s calendar named as “Test custom” so that your Athletes can tell the difference between tests and regular workouts. You may as well add a calendar note on the same day to give them extra information.

Fig. 8
Save custom test events to your library (optional)
You may save your custom test events as presets in your library, exactly the way you’d do with your workout presets, so that you can use them later on, say, for another athlete.
Edit/move/copy/delete a test event
A test event, whether it’s ready-made or a custom test event, can be edited, moved, copied or deleted like any normal training event.
Edit a test event by viewing its details, as shown here.
Move a test event by dragging and dropping it on a different day. You may also use the Dual Calendar view to make it easier to move it onto a different month.
Copy a test event as you would a normal workout session. See here.
Delete a test event by clicking on it and selecting Actions > Delete on the bottom right corner of the popup window.